Prerequisites
- To build and manage a Cobo Portal App, you need to first create an organization in Cobo Portal in the development environment. Follow the instructions in Set up your account and organization to set up your Cobo account and create your organization. If an organization has already been set up, ask your organization admin to invite you to join the organization.
- Install FastAPI as the development environment.
Create an app project using Cobo CLI
Cobo Command Line Interface (CLI) is a powerful developer tool designed to help you build, test, and manage your integration with Cobo Wallet-as-a-Service (WaaS) 2.0 directly from the command line.-
Install Cobo CLI using the following command:
For more details about the system requirements for Cobo CLI, please refer to Install Cobo CLI.
-
Log in to Cobo Portal and connect Cobo CLI to your Cobo Portal account. You can choose one of the three authentication methods to authenticate. As an example, this step will show you how to authenticate with your Cobo Portal account:
You’ll be prompted to open a browser to continue the authorization process. Complete the authorization process in your browser, granting the necessary permissions for Cobo CLI to access your crypto wallets. For more details about authentication methods, see Login and authentication.
-
Use the app init command to create a sample app based on a template. You can specify the details of the WaaS application you want to create through options, or choose these parameters step by step and create the project using the prompts of Cobo CLI.
The following command creates a Cobo Portal App project, using Org Access Tokens for authentication, and creates it in the directory named
hello_world:
Run and preview the app
-
Start the frontend server.
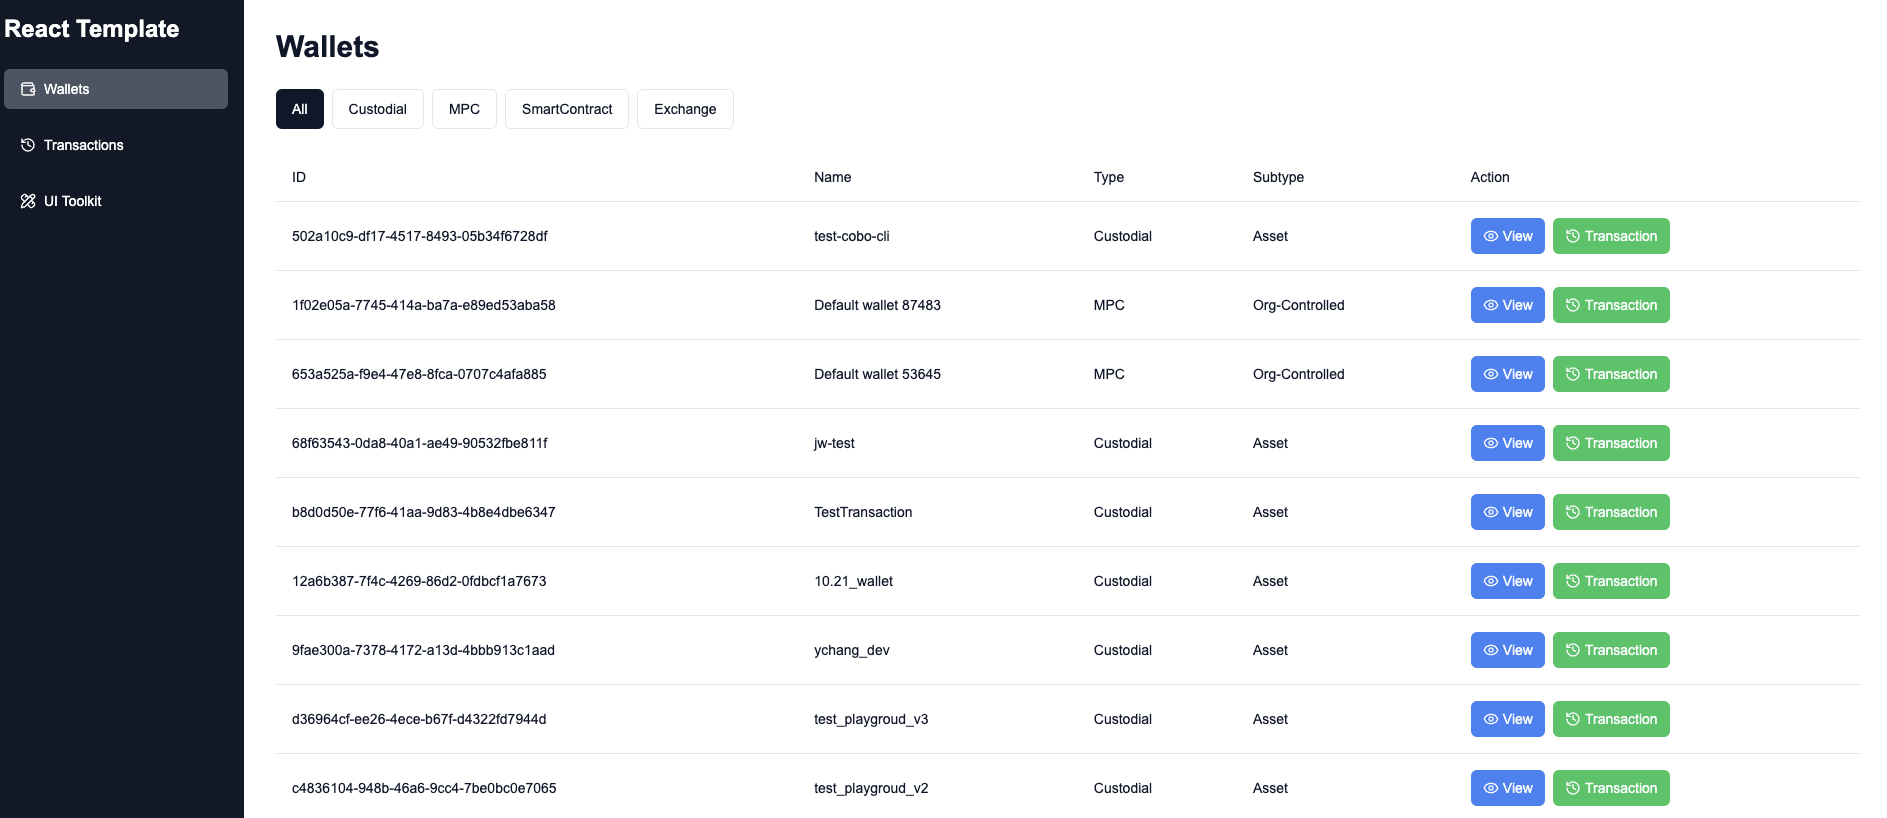
Navigate to the
frontendfolder in the directory where you created the app project and run the following command:Now you can view the app’s frontend as the following screenshot shows: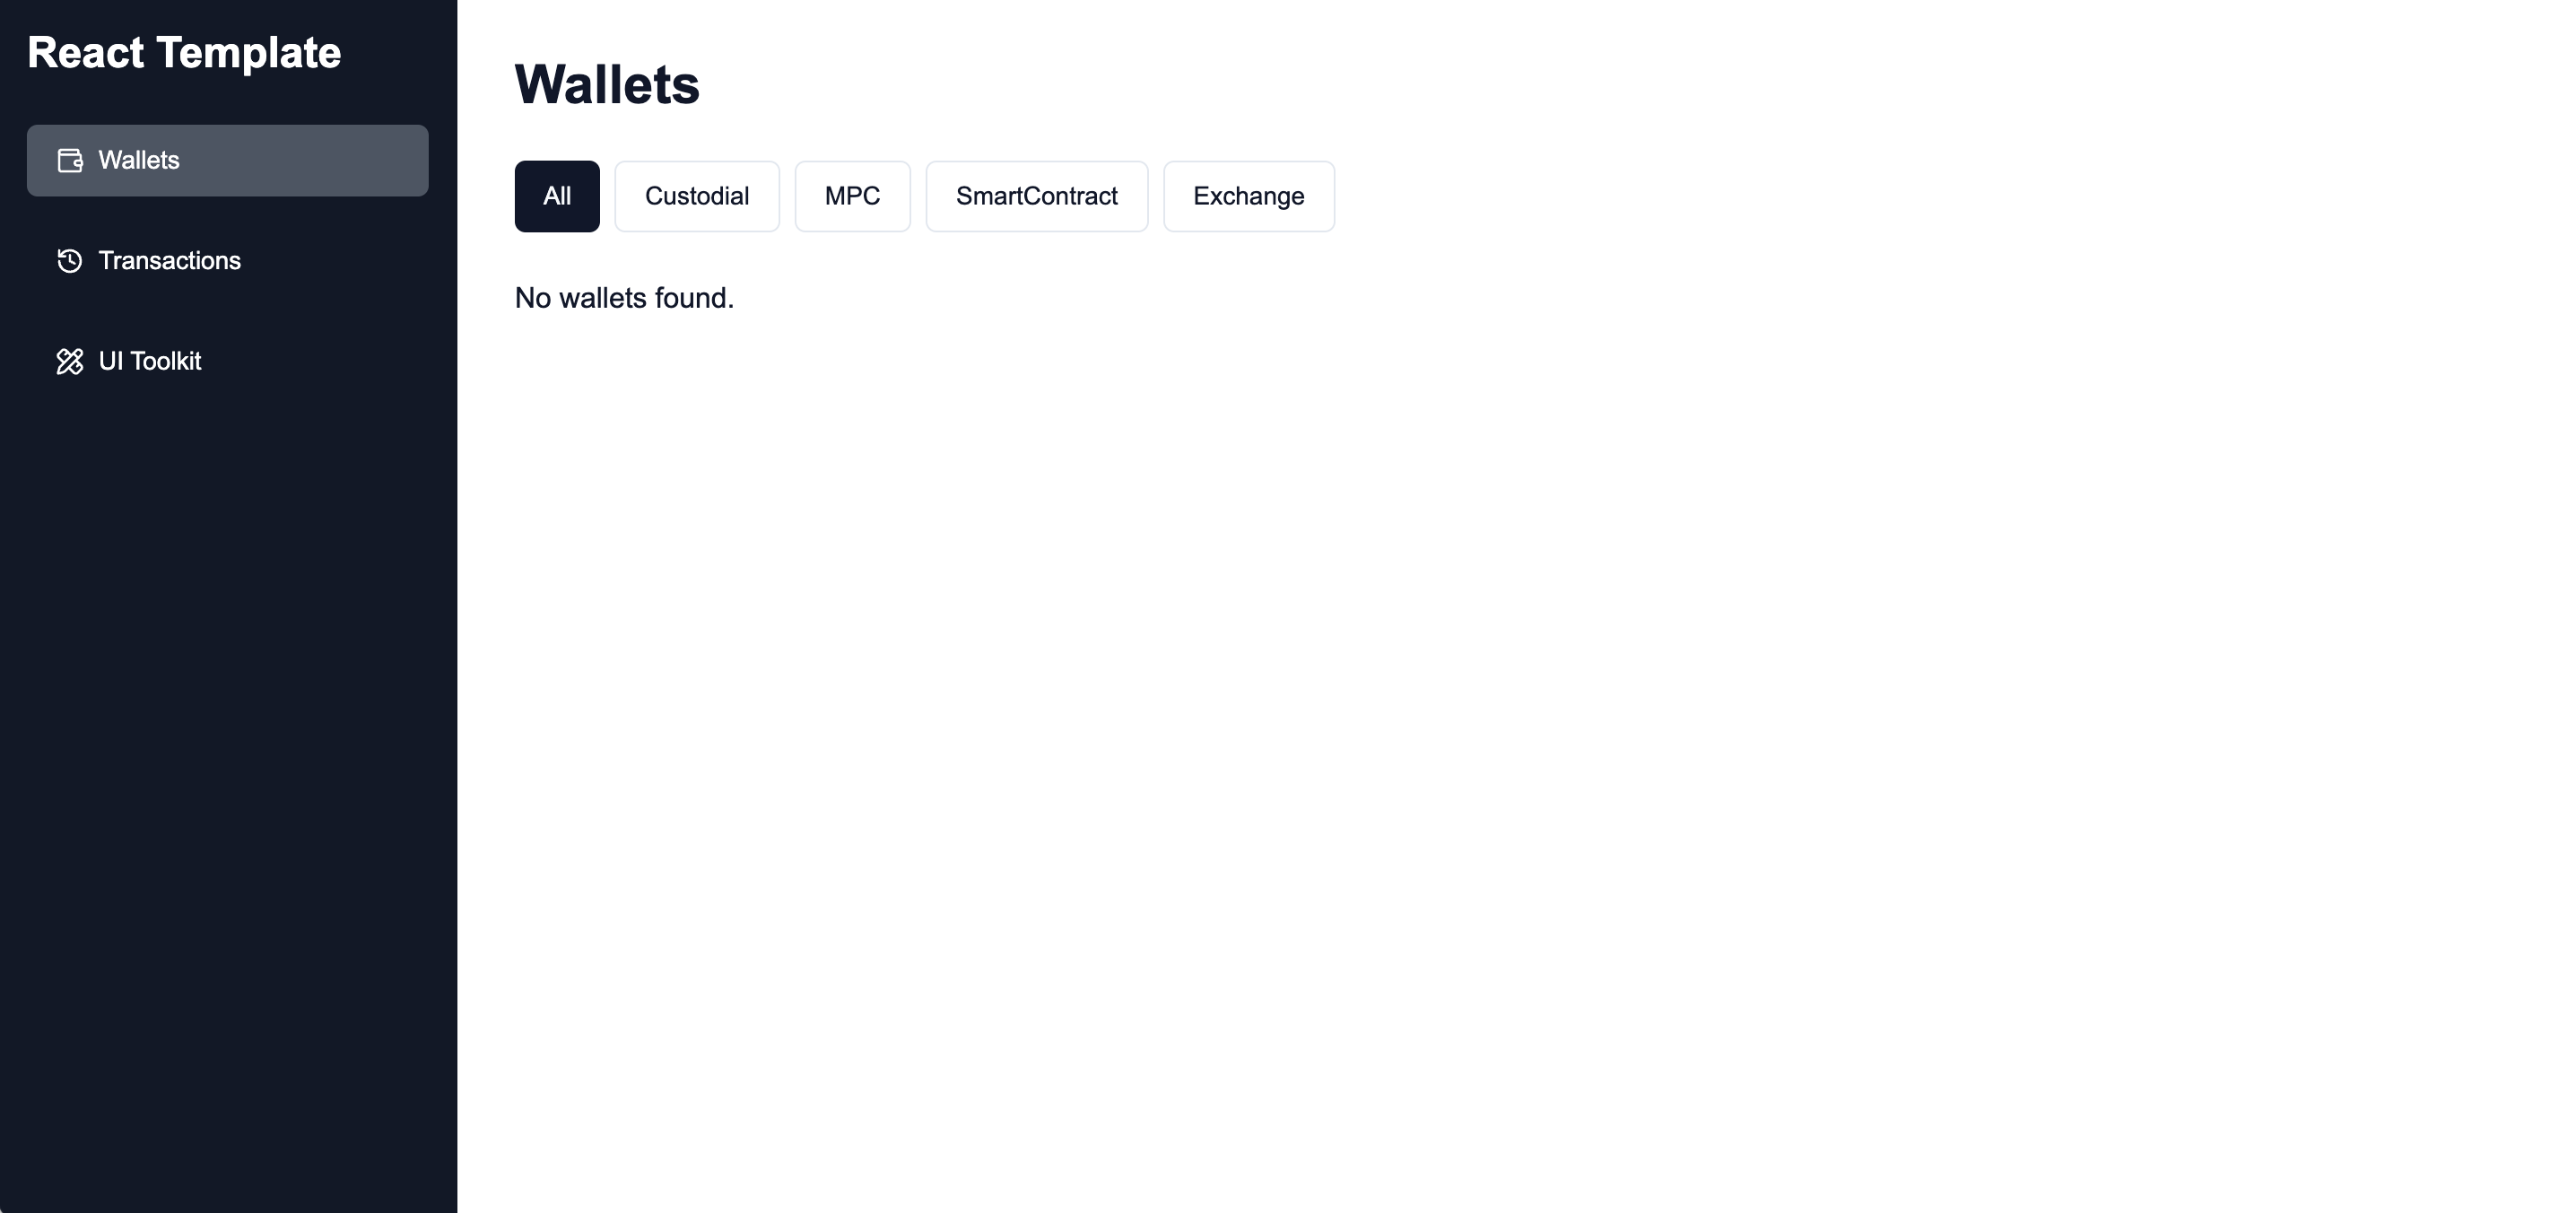
-
Start the backend server.
Navigate to the
backendfolder in the directory where you created the app project and run the following command:Now you can view the app’s backend as the following screenshot shows: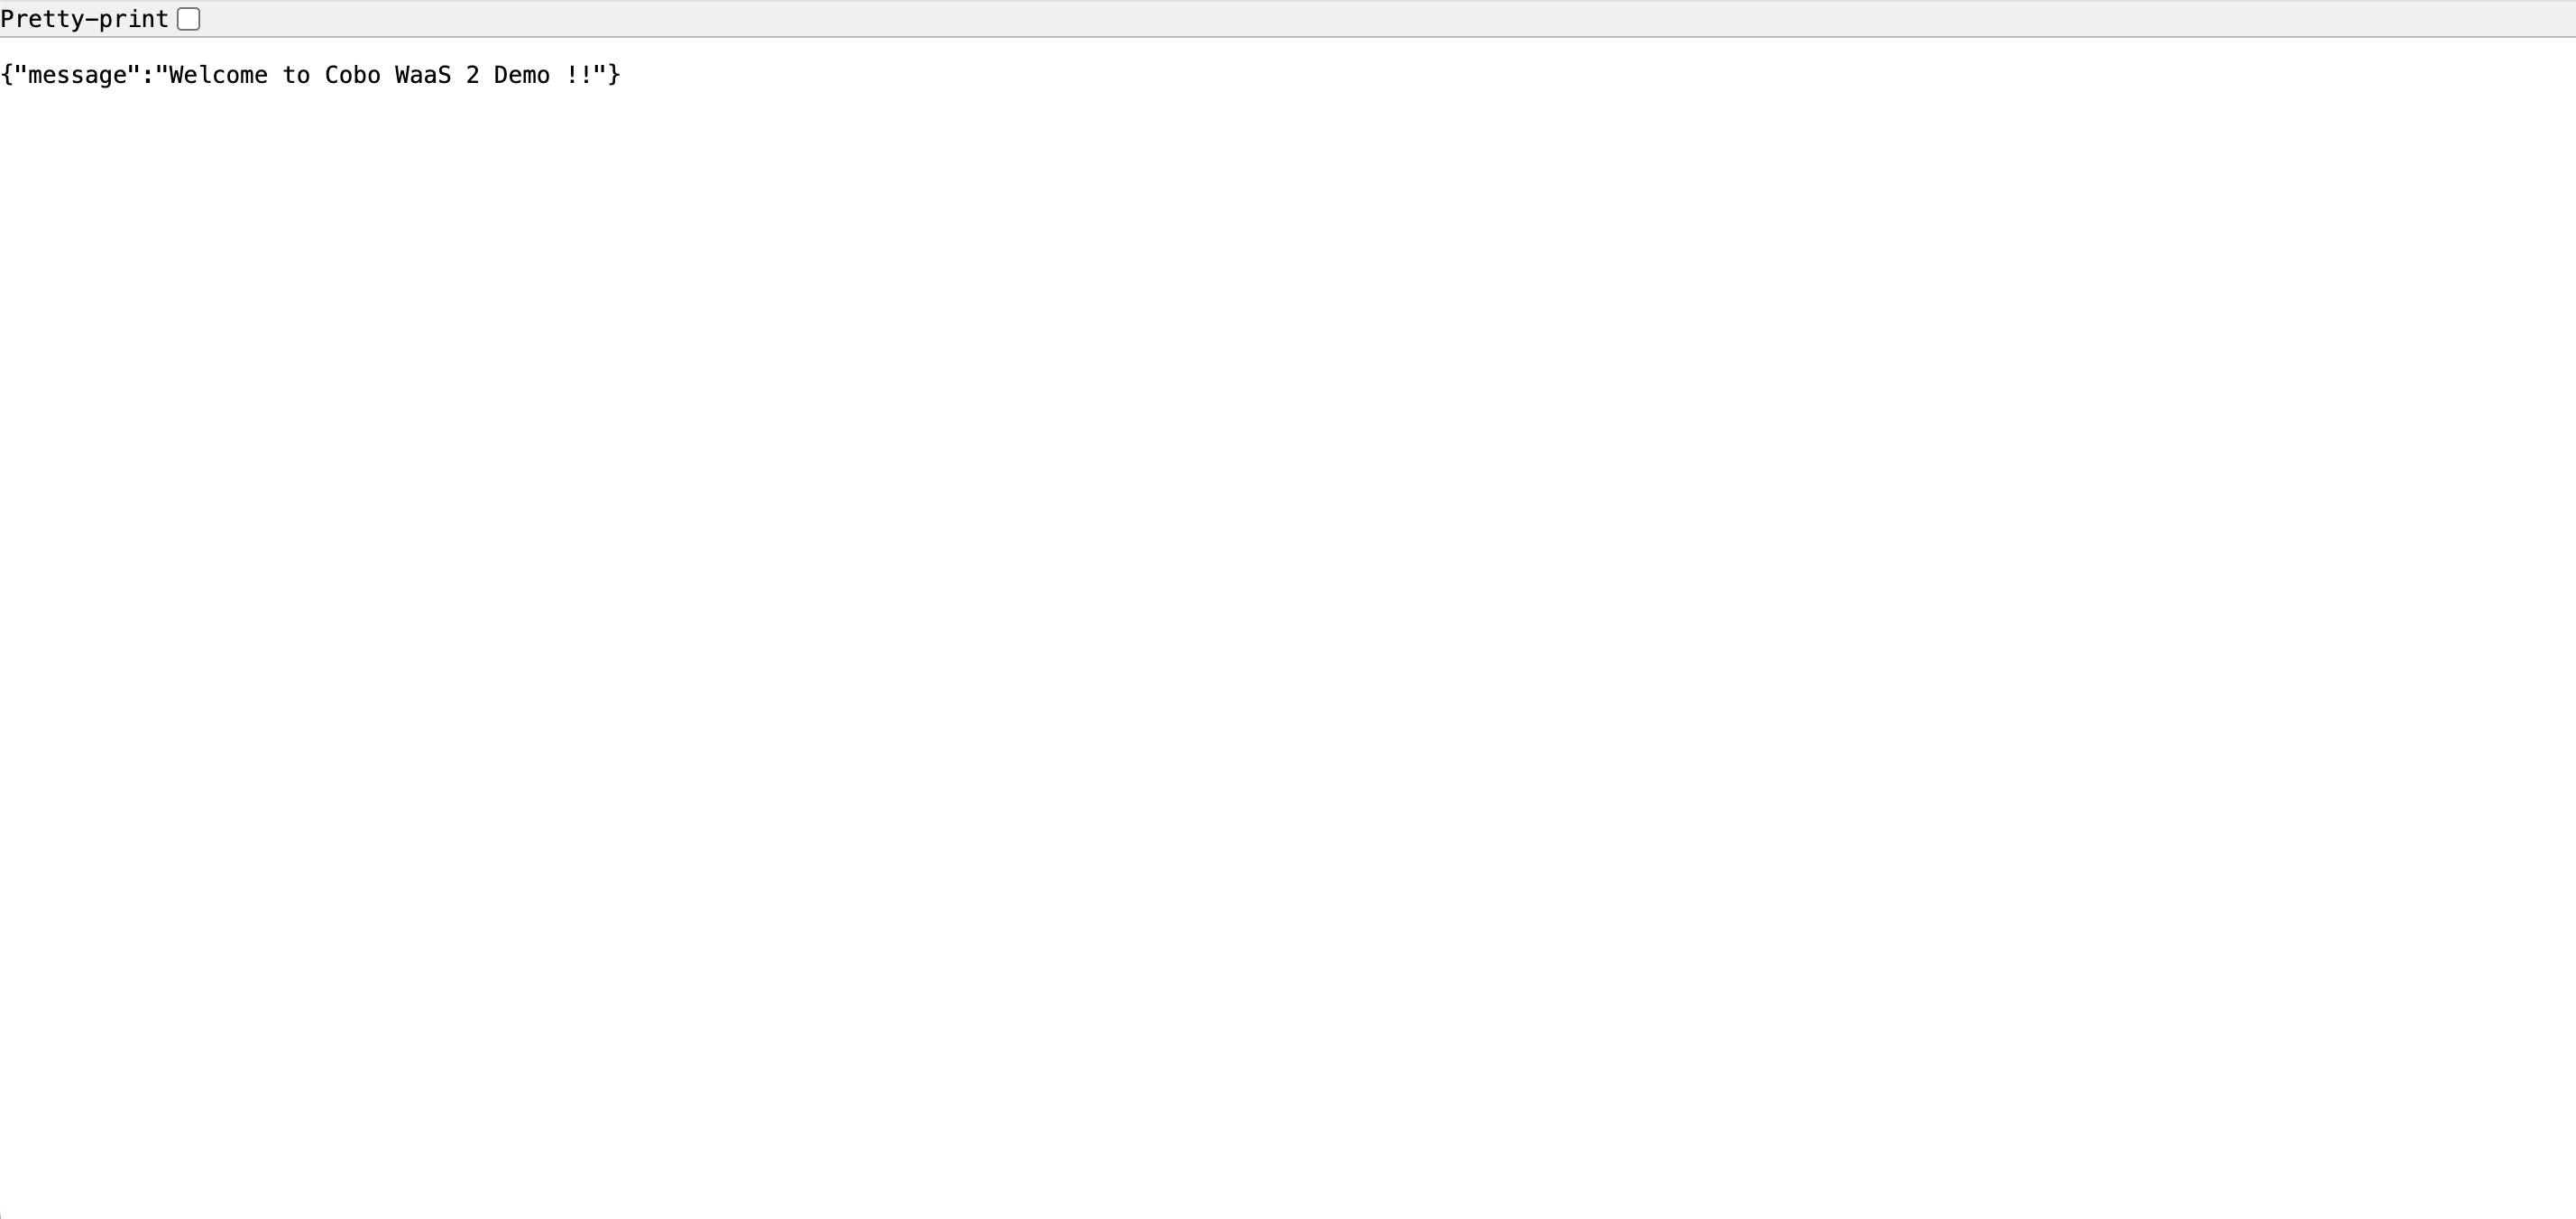
- Find the
.env.examplefile in thebackendfolder and rename it to.env. In the.envfile, setCOBO_API_KEYas your API key,COBO_API_SECRETas your API secret, and setCOBO_ENVasdevorproductionbased on the environment you use. For more information about API keys, refer to API key. - Register your API key on Cobo Portal. For more details, refer to Register an API key.
- Find the