Sample project
Cobo offers a sample project Hello World that allows you to quickly build a Cobo Portal App and preview it on your local machine. Refer to Create a sample app for details.Prerequisites
- To build and manage a Cobo Portal App, you need to first create an organization in Cobo Portal in the development environment. Follow the instructions in Set up your account and organization to set up your Cobo account and create your organization. If an organization has already been set up, ask your organization admin to invite you to join the organization.
- Choose and install either FastAPI or Next.js as your development framework.
Develop the app
Create an app using Cobo CLI
Cobo Command Line Interface (CLI) is a powerful developer tool designed to help you build, test, and manage your integration with Cobo Wallet-as-a-Service (WaaS) 2.0 directly from the command line.-
Install Cobo CLI using the following command:
For more details about the system requirements for Cobo CLI, please refer to Install Cobo CLI.
-
Log in to Cobo Portal and connect Cobo CLI to your Cobo Portal account. You can choose one of the three authentication methods to authenticate. As an example, this step will show you how to authenticate with your Cobo Portal account:
You’ll be prompted to open a browser to continue the authorization process. Complete the authorization process in your browser, granting the necessary permissions for Cobo CLI to access your crypto wallets. For more details about authentication methods, see Login and authentication.
-
Use the app init command to create a Hello World app project. You can specify the details of the WaaS application you want to create through options, or choose these parameters step by step and create the project using the prompts of Cobo CLI.
The following command creates a Cobo Portal App project, using Org Access Tokens for authentication, and creates it in the directory named
hello_world:
Acquire authentication information
To authenticate your API requests to the WaaS service in Cobo Portal Apps, you need to provide your app key and Org Access Token. You also need to calculate an API signature if you are not using the WaaS SDK. Refer to Cobo OAuth for how to acquire all the necessary information for authentication.Verify app users
User Info Tokens are JSON Web Tokens (JWTs) signed by Cobo Portal. These tokens allow Cobo Portal Apps to retrieve information about users, including their user ID, email address, and permissions. A Cobo Portal App can use the information to verify a user’s identity and control their access to the organization’s resources based on the permissions. It is recommended that you verify a user’s identity before they can get started using the app. For more information, refer to User Info Tokens.Call the WaaS API
You can now call the WaaS 2.0 API to build features for your app. When calling an API operation, you need to provide the required authentication information in the request header. The following code snippets show how to list all the wallets in an organization using the WaaS Python SDK.Configure the manifest file
Before you publish the app, you need to fill out the manifest file, which contains the app’s configuration information. Refer to the following table for field descriptions and examples.| Field | Description | Example |
|---|---|---|
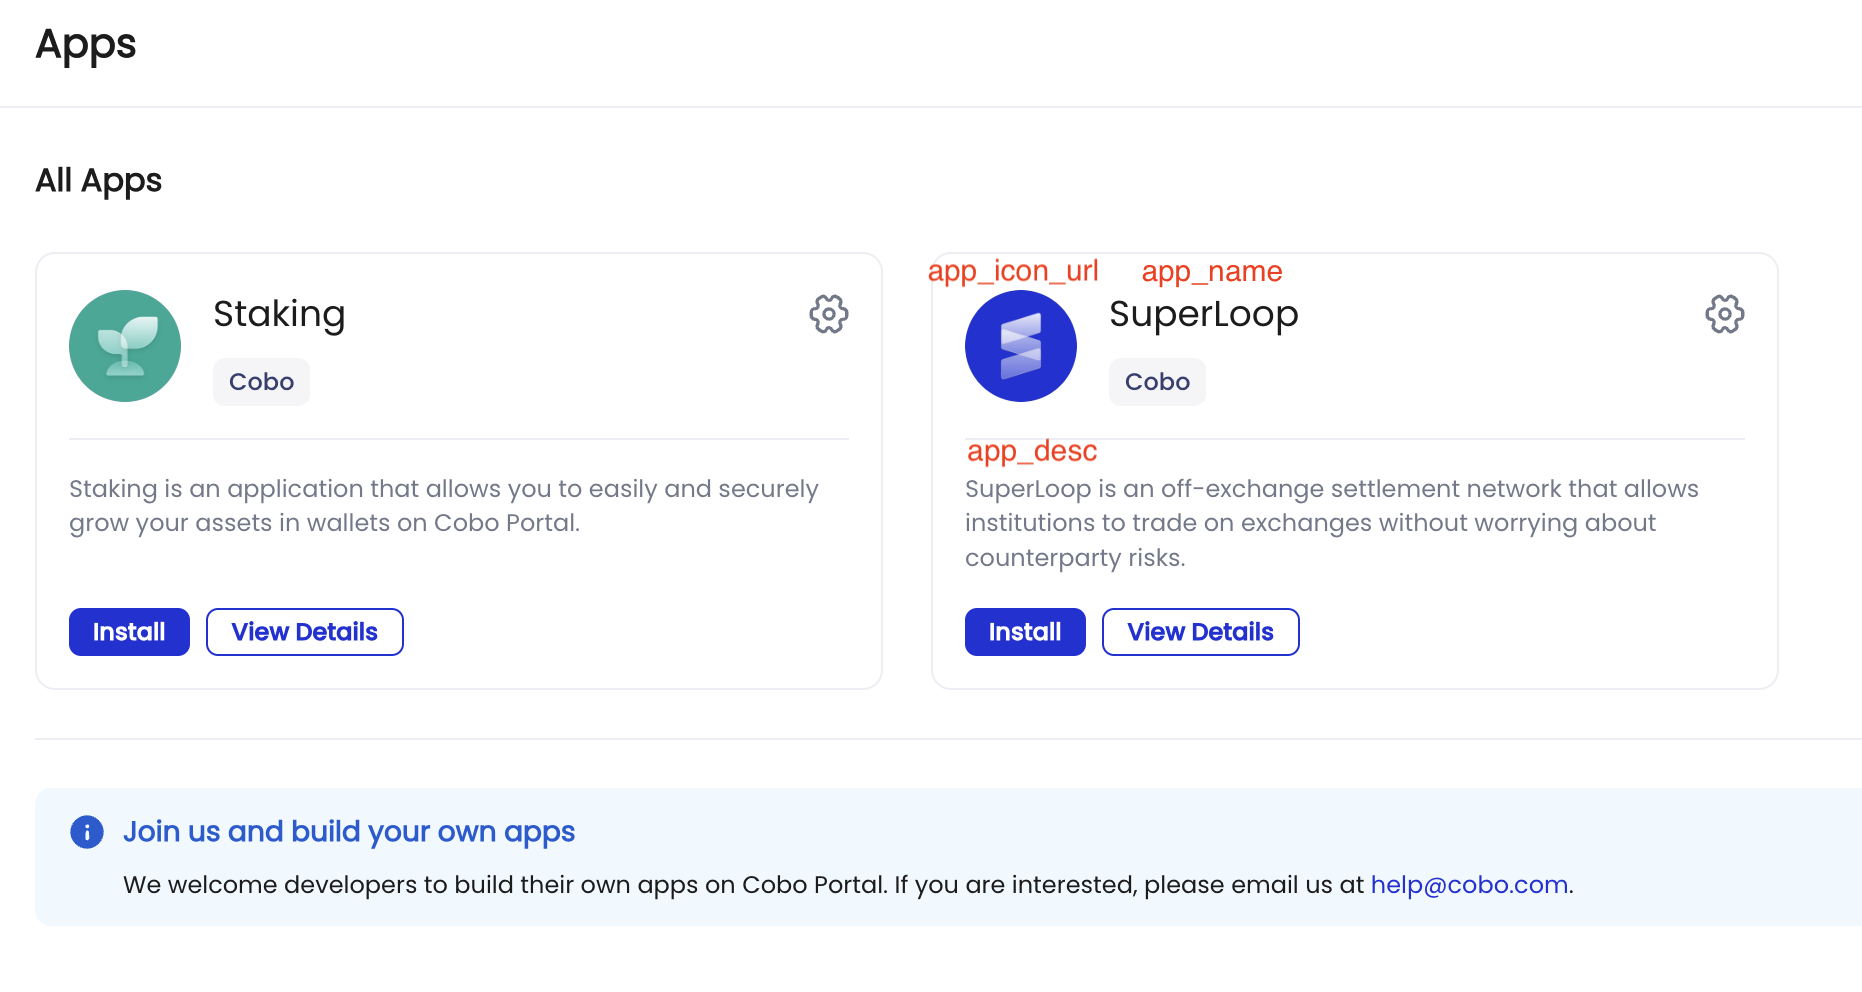
| app_name | The app name. | SuperLoop |
| app_desc | A brief description of the app, with a maximum length of 80 characters. | SuperLoop is an off-exchange settlement network that allows institutions to trade on exchanges without worrying about counterparty risks. |
| app_desc_long | A detailed description of the app, including use cases and key features. The description must be under 1000 characters and formatted in Markdown. | SuperLoop is an off-exchange settlement network that allows institutions to trade on exchanges without worrying about counterparty risks. For asset managers, trading on exchanges can be conducted with greater confidence and efficiency. The need to pre-fund on exchanges before trading is eliminated, minimizing counterparty risks. |
| app_icon_url | The URL of the app icon. Please contact our Operation team at help@cobo.com to help you upload the app icon. | https://d.cobo.com/public/logos/Logo.png |
| screen_shots | The URLs of at least three screenshots showcasing key features. Please contact our Operation team at help@cobo.com to help you upload the screenshots. | ”https://d.cobo.com/apk/android/SuperLoop.png”, “https://d.cobo.com/apk/android/Loop.png”, “https://d.cobo.com/apk/android/MirrorModal.png” |
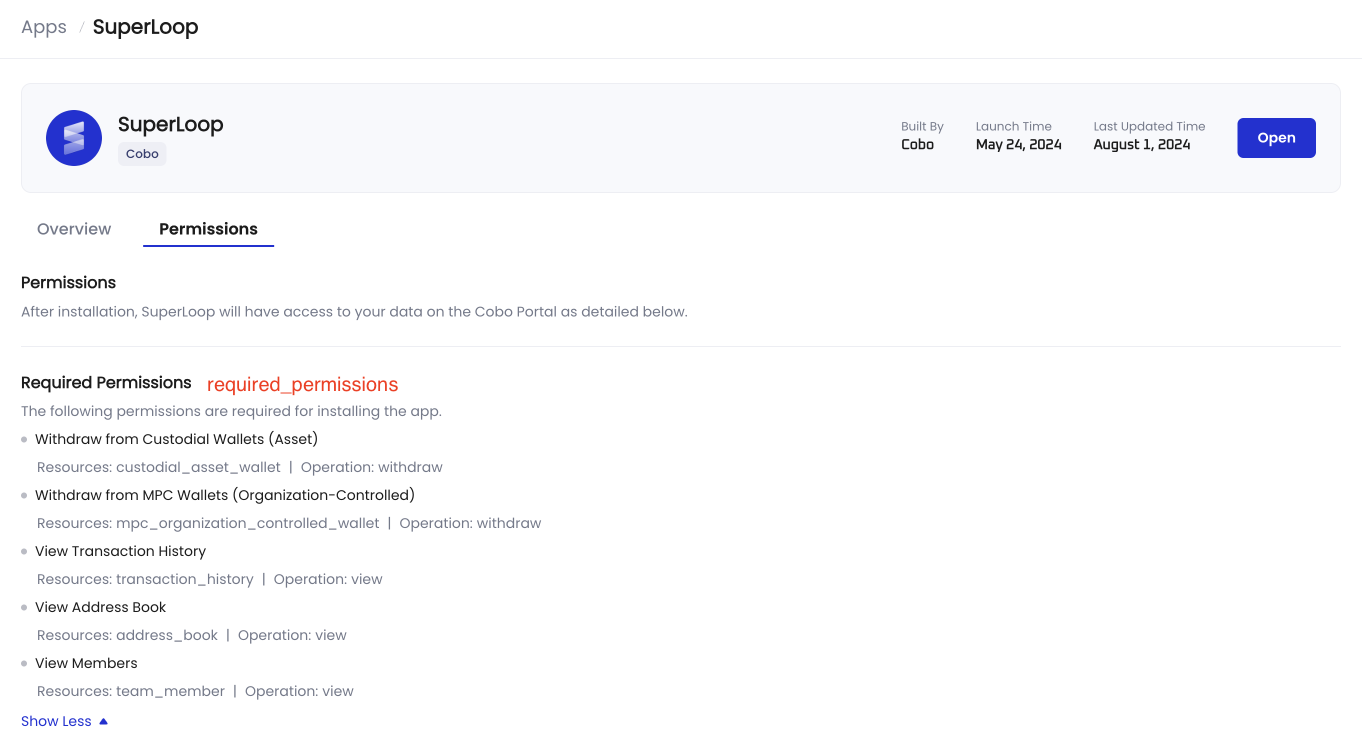
| required_permissions | A list of the permissions required for the app to access resources within users’ organizations. A permission consists of a resource type and an operation, separated by a comma. For example, | ”wallet:create”, “transaction:withdraw”, “mpc_project:update” |
| optional_permissions | (Optional) A list of permissions that the app can request to access additional resources within users’ organizations. These are not mandatory but may enhance app functionality. A permission consists of a resource type and an operation, separated by a comma. For example, | ”address_book:create”, “kyc_profile:read”, “team_member:freeze” |
| homepage_url | The host URL of the app homepage, used to embed the app into Cobo Portal via an iframe. | https://example.com |
| callback_urls | The URL of the endpoint used to receive the callback after the organization admin approves the app’s request for permissions. | https://example.com/webhooks/organization/authorization |
| client_key | The app key. For instructions on how to generate an app key, refer to Generate an app key and an app secret. | AbCdEfGhIjKlMnOpQrStUvWxYz1234567890 |
| creator_name | The developer’s name. | Cobo |
| contact_email | The developer’s contact email. | sample@email.com |
| operation_approval_rules | (Optional) The app’s default approval workflows. To use this feature, the required_permissions field must be contain app_governance_policy:update and app_governance_policy:read. For how to configure approval workflows, refer to Configure approval workflows. | [{“operation_id”: “25cbb115-82a1-4474-9993-538bb439ad33”, “operation_name”: “Make Batch Payout”, “default_approval_policies”: [{“action”: {“type”: “Quorum”, “content”: {“roles”: [“admin”], “threshold”: 1, “type”: “PART_APPROVAL”}}, “conditions”: [{“field”: “amount”, “value_type”: “INT”, “value”: “100”, “operator”: ”>”}]}, {“action”: {“type”: “Accept”, “content”: ""}, “conditions”: null}], “descriptions”: [{“field”: “amount”, “description”: “Total USD amount”, “value_type”: “INT”, “display_name”: “Total Amount(USD)”}]}] |
| wallet_type | (Optional) The wallet types supported by the app. The possible values are as follows:
Custodial, MPC, users will only be able to select these wallet types as the wallet scope that the app can access. If this field is left empty, users can select any wallet type available. For the full list of wallet scopes in WaaS 2.0, refer to Wallet scopes. | ”Custodial”, “MPC” |
| is_policy_reminded | (Optional) Whether app users will be reminded of setting up transaction policies for the app. The default value is | true |

Publish the app
When you have completed developing your app, you can use the app upload Cobo CLI command to publish the app to the production environment or development environment:- Verify the app manifest file is configured correctly.
- Log into Cobo CLI with your Cobo Portal account.
- Generate an app key if you haven’t done so. For more details, refer to Generate keys.
- Run the command from the project directory where the manifest file is located.
contact_email configured in the manifest file. Once approved, your app will be available to all users on Cobo Portal.
If you publish your app to the development environment, no approval is required and your app will be available only to the users in your organization.
The app upload command will generate a client ID for your app in the manifest file. A client ID is a unique identifier for a Cobo Portal App and cannot be modified after being generated. It is required for getting the Org Access Token. For more details, refer to Org Access Tokens.
An app can be published only once, otherwise an error will occur. For subsequent updates, you need to follow the process of updating the app.
Update the app
If you want to update your app after it’s published, you can implement the changes and then use the app update Cobo CLI command:- Verify the app manifest file is configured correctly.
- Log into Cobo CLI with your Cobo Portal account.
- Run the command from the project directory where the manifest file is located.